
The default text size in the Mac version of Reminders can be a little small. There’s no option in the app itself to adjust the size but that doesn’t mean you can’t do it.
It’s kind of hidden so unless you know where to look, you may never see it.
Apple’s Hidden Settings
On most of Apple’s platforms (macOS, iOS, iPadOS, etc.) there’s a treasure trove of options hiding in the Accessibility settings.
As the name suggests, these settings are intended for people with accessibility needs. But a lot of the settings can help you personalize the way your device works, whether it’s an accessibility need or simply a preference.
One of the options on the Mac is to adjust the text size in a bunch of the built-in apps from Apple.
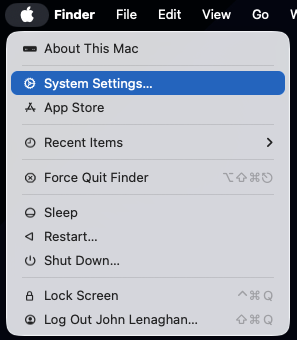
First, open System Settings on your Mac. Click the Apple logo in the top left corner of your display and then System Settings.
Click on Accessibility in the list of options in the left navigation menu and then Display in the options on the right. On the Display settings page, click on Text Size.

You’ll get a list of the apps that support independent text sizes. The list doesn’t include all of Apple’s built-in apps but a lot of them are here.
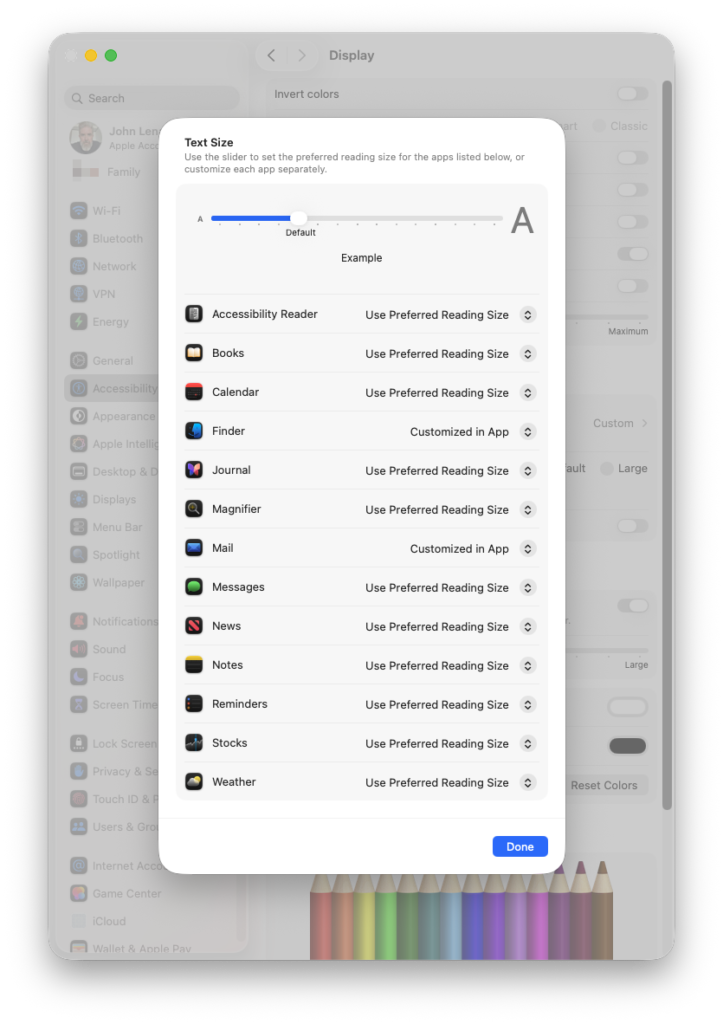
You can adjust the default text size for all the apps in the list using the slider at the top. Or you can leave it at the default setting and adjust the apps individually.
To change the text size in Reminders, click the dropdown beside Reminders, where it says “Use Preferred Reading Size”. You’ll get a list of all the different font sizes available.

Choose the size you like and click Done. It’s easiest if you have Reminders open beside the System Settings app so you can see how the different sizes look as you change them.
Once you click Done, the change is saved so Reminders will always use that size. You don’t need to change the setting again unless you want to adjust the size further.
If you ever want to go back to the original size, change the setting back to “Use Preferred Reading Size” and it’ll set it back to whatever the slider at the top of the settings page is set to.
If you prefer to see a step-by-step walkthrough of this process, I show how to do it in this video…